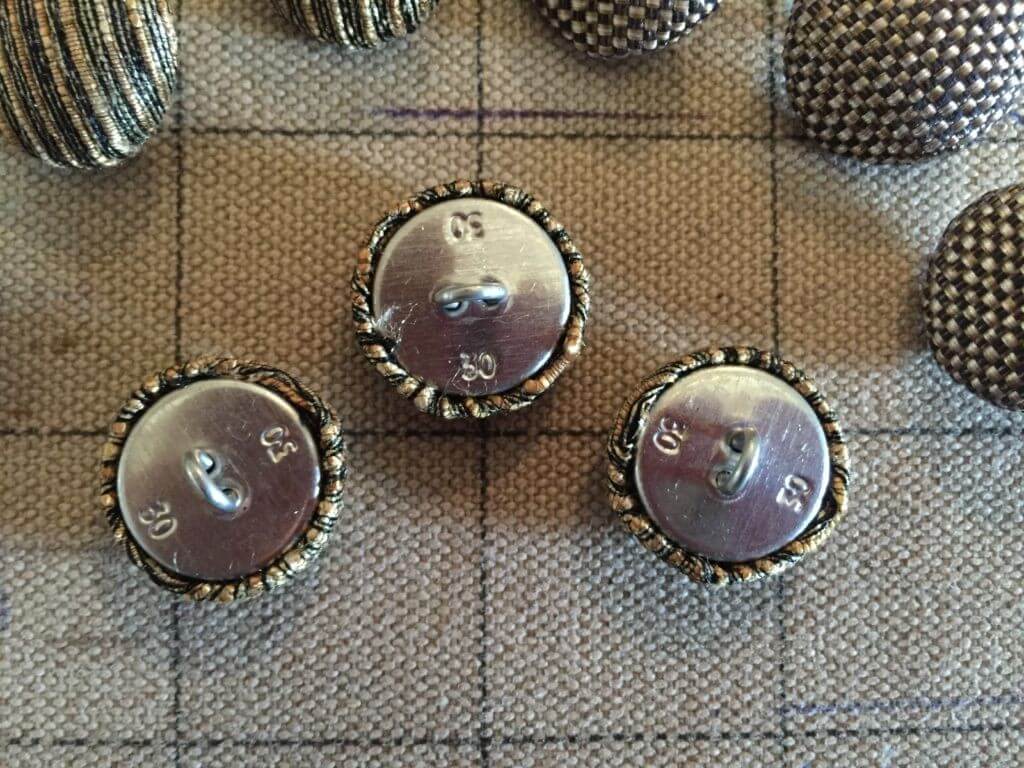
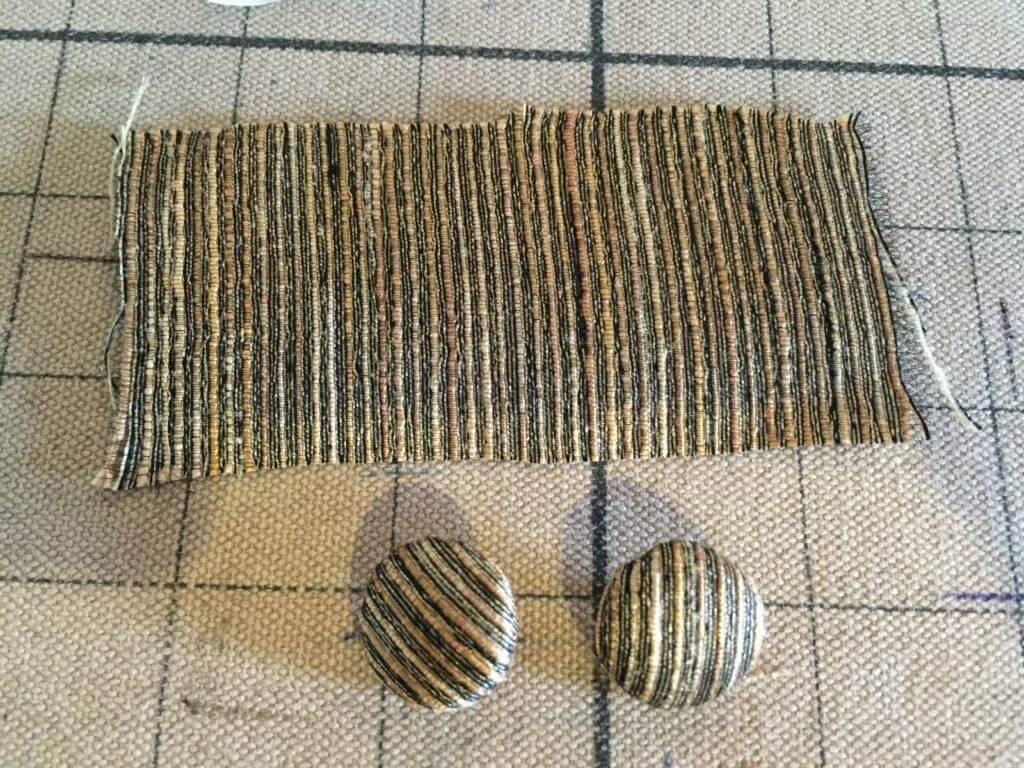
This blog is meant to give tips on how to treat fabrics that are too thin or fray too much to make buttons. For step by step instructions on how to make fabric covered buttons read the blog “How to Make Fabric Covered Buttons”. The buttons pictured above and below were made with thin fabrics that didn’t hold a tight seal and fell apart with handling. Also the threads wouldn’t all get tucked into the button.
After making several buttons that fell apart I needed to try something different. I had some HeatNBond in my cabinet and gave that a try. By applying the adhesive to the fabric it solved both my problems. The HeatNBond made the fabric thicker and also eliminated the frayed edges so all threads stayed tucked into the buttons. The buttons made with the adhesive were prettier and stronger. They did not fall apart because the adhesive has a rubbery feel that helped the fabric hold its grip to the crimped buttons.
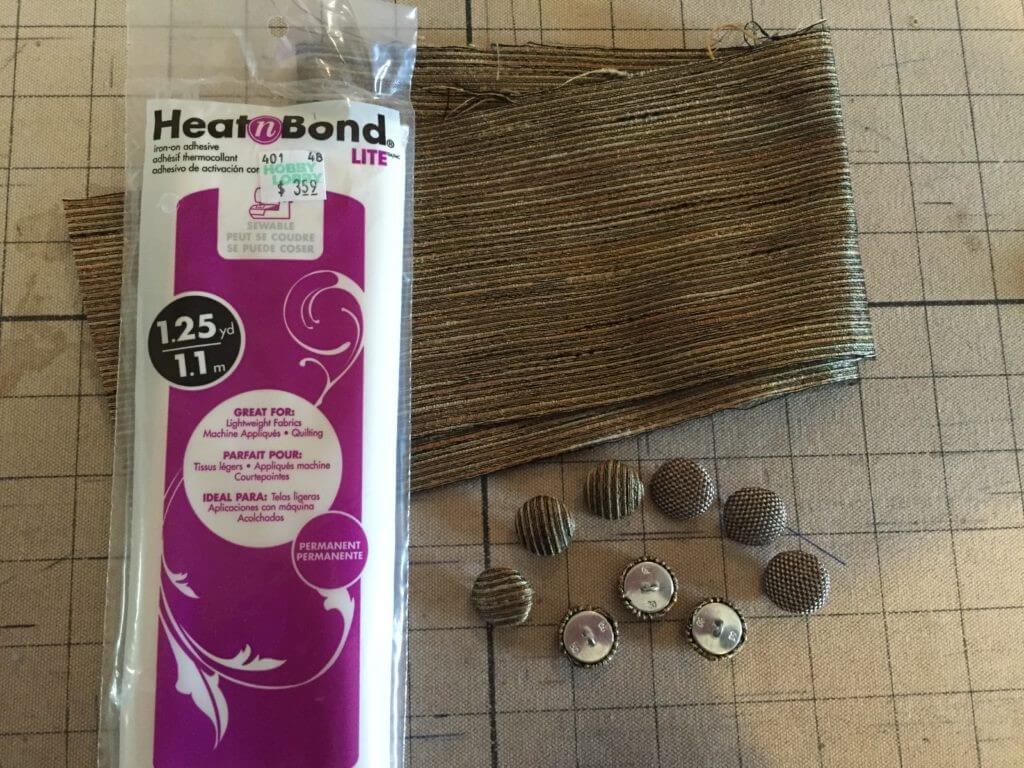
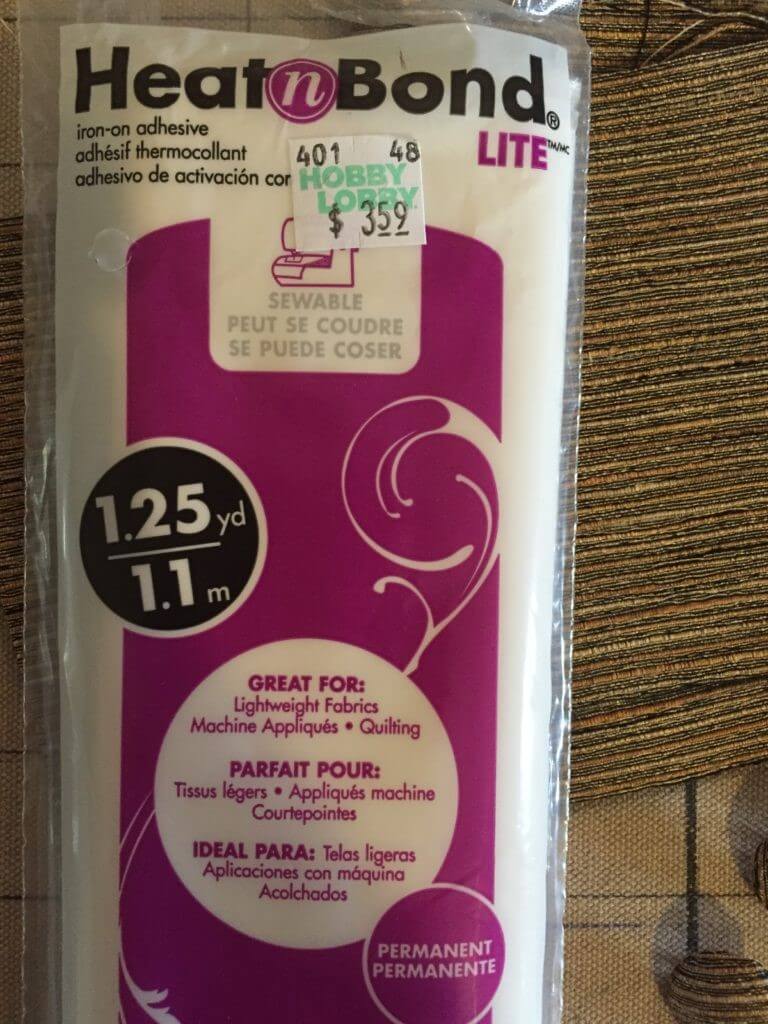
There are many brands of iron on adhesive that can be found at your local hobby shop. This one came from Hobby Lobby. Make sure to get the iron on type instead of sew on.
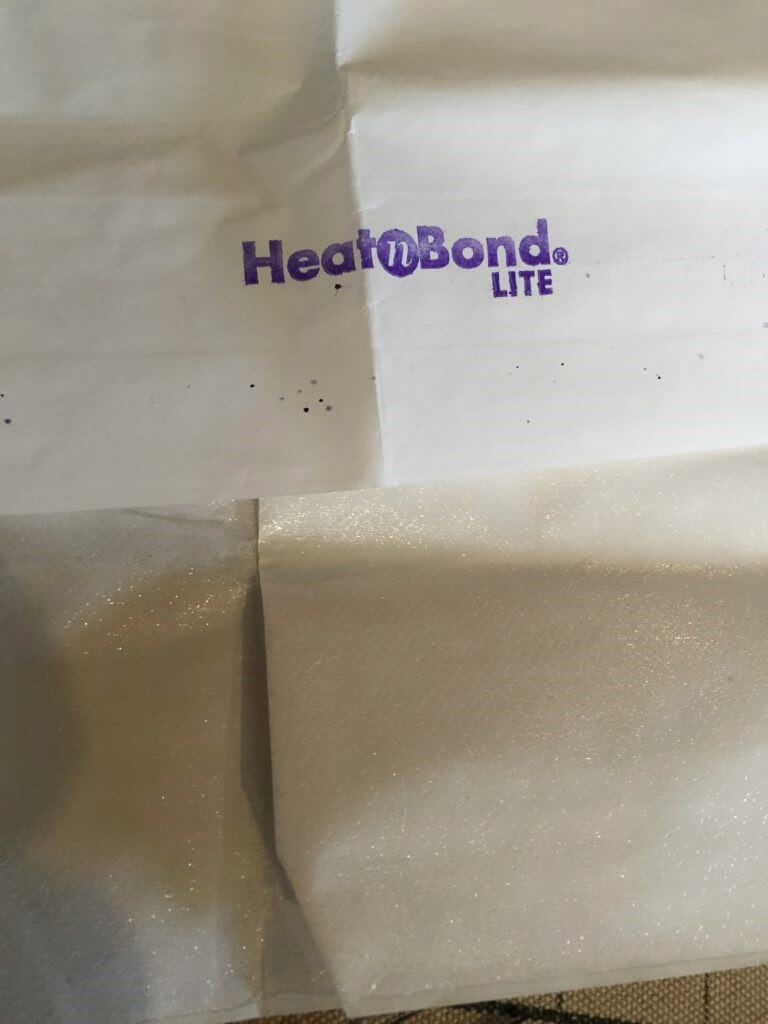
The HeatNBond paper is shiny on the adhesive side and dull on the paper side.
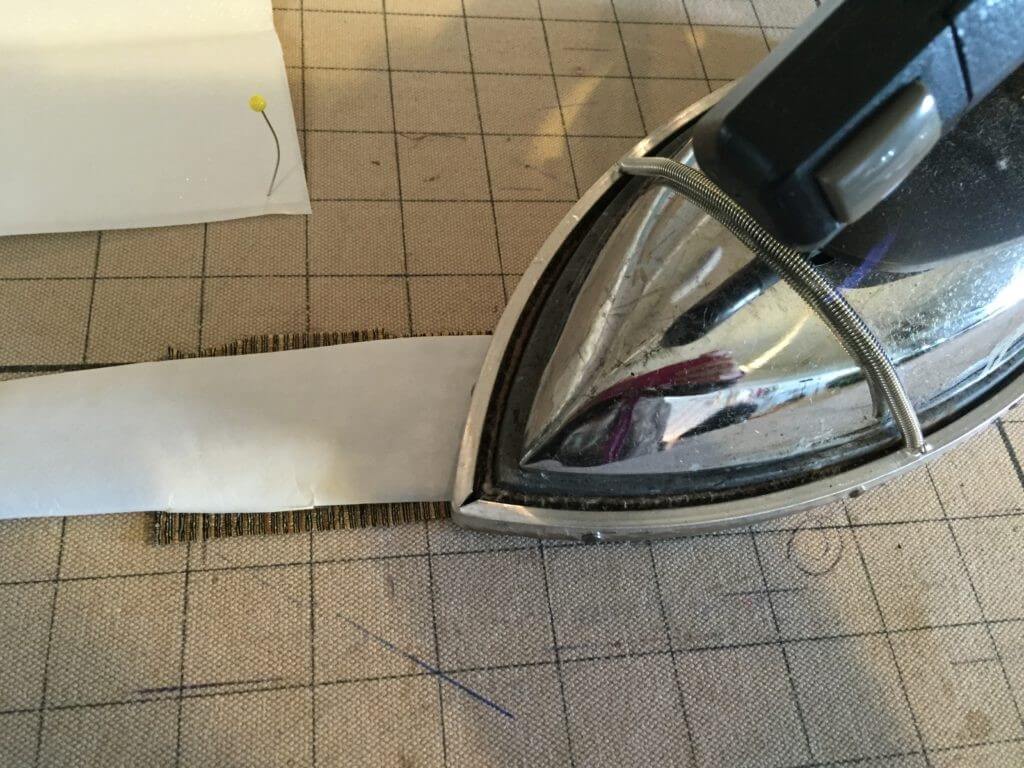
Cut a piece of the adhesive paper to the size of fabric you wish to apply it to. With the shiny side down on the wrong side of the fabric, press with a hot iron for a few seconds until the whole area is heated. Follow any other instructions on the package.
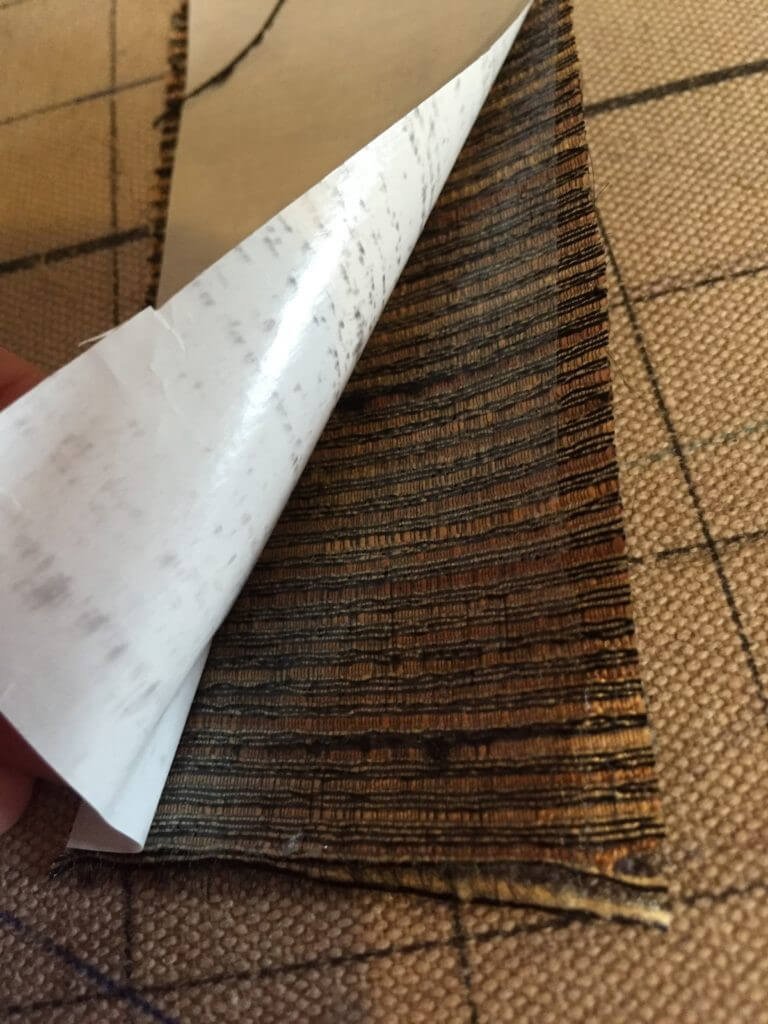
Peel away the paper to reveal the adhesive that is now stuck to the fabric.
You are now ready to cut circles and make buttons.
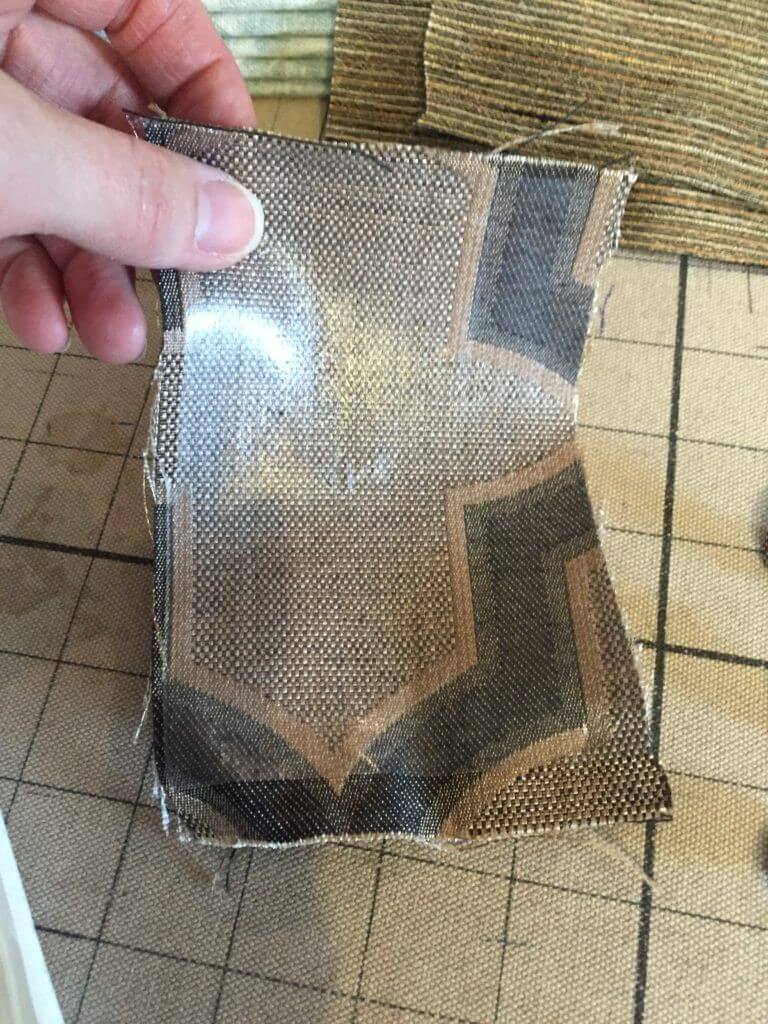
Here is another fabric that needed the adhesive because it was too thin. You can see how shiny the back of the fabric is with the adhesive applied.
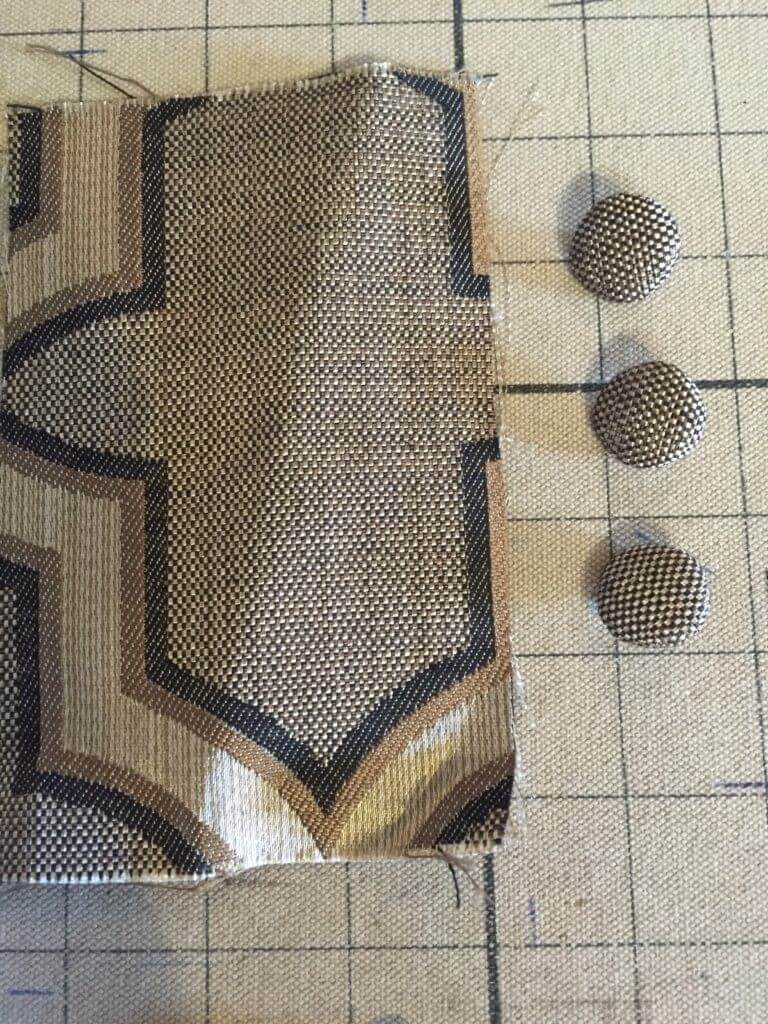
I chose to cut out the fabric for all these buttons on the solid part of the fabric so each button turned out the same rather than having part of the pattern randomly appear here and there.